How to take a picture on a Mac
In today’s age of video conferencing and Facetime calls, you’re probably already aware that your Mac has a built-in camera, but have you ever tried to take a picture on your Mac?
If you’re curious about how to take a picture on a Mac, we’re sharing all the juicy details, including how to use Photo Booth and take a picture of your Mac’s screen.
How to take a picture on MacBook
In most cases, when you open up an app on your Mac that requires the camera, the app will ask your permission to use the camera and open it automatically. This is true of most video conferencing software.
Your Mac’s camera is located at the top of your screen, and when it is in use, you will see a small green light next to it. When you take a photo using your Mac, it will not be as high quality as a phone photo, as the webcam was designed for video calls and not for photography.
How to take a photo on MacBook with the Photo Booth app
For simple photographs, Mac has a built-in app called Photo Booth. It’s a fun app to play around with, and while the photos are by no means professional, they get the job done.
Here’s how to take photo on Mac using Photo Booth:
-
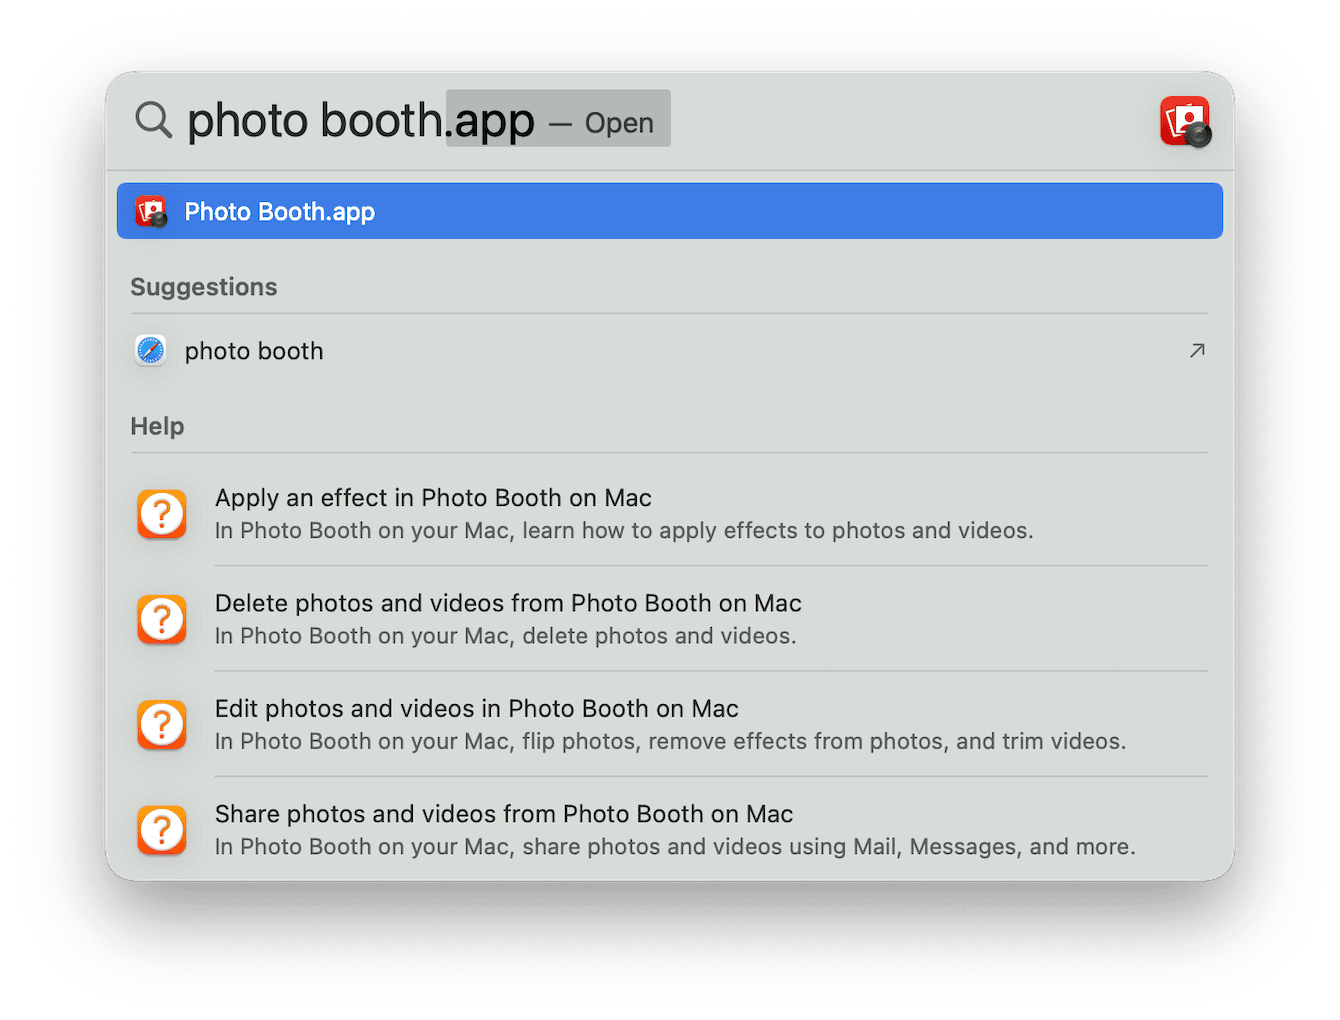
First, open the Photo Booth app. You will find it in the Applications folder within Finder, inside Launchpad, or by using Spotlight search (type in Photo Booth).
-
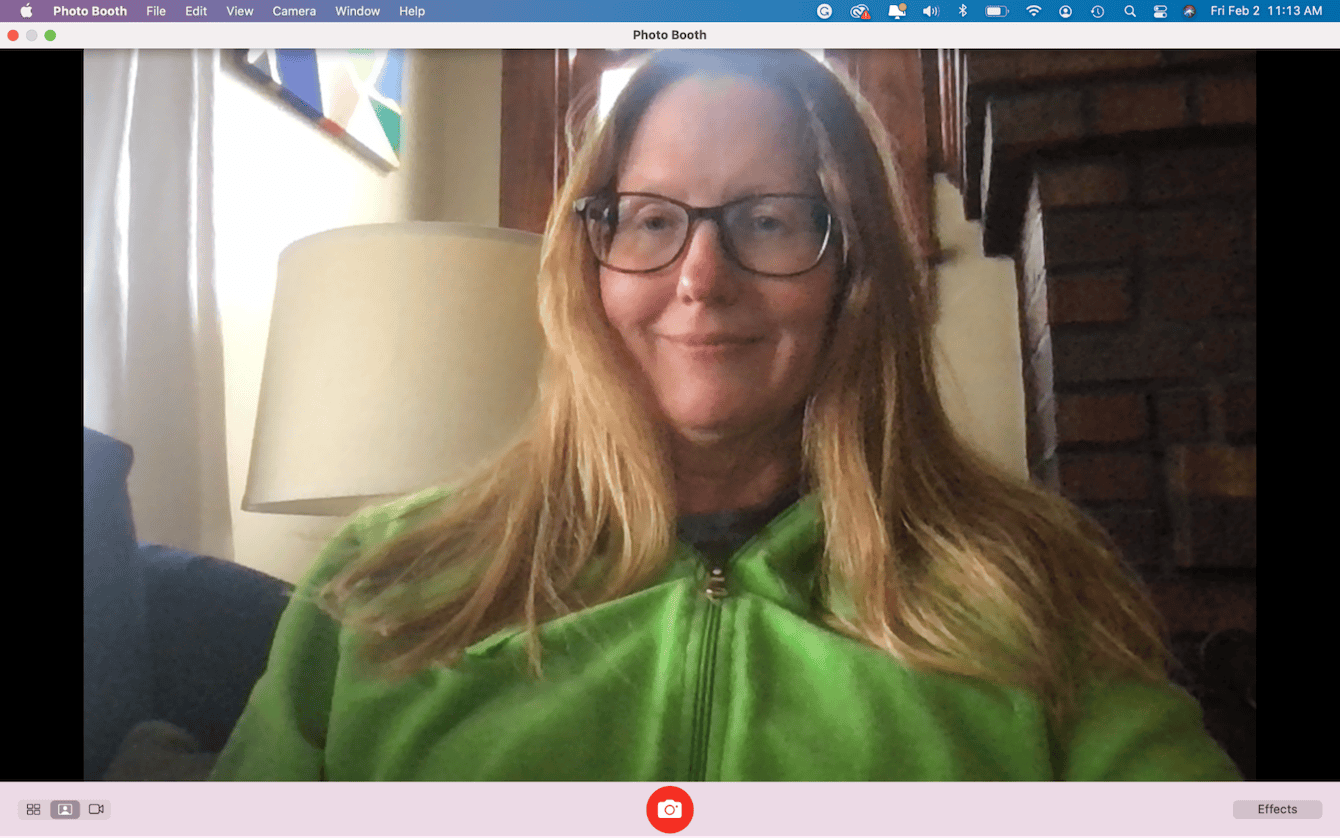
You will see the green light come on next to your webcam, and a window will pop up showing you what your camera sees.
-
To take a photo, simply click on the red camera icon at the bottom of the screen.
-
To switch to video mode, click on the video camera icon n at the bottom left.
-
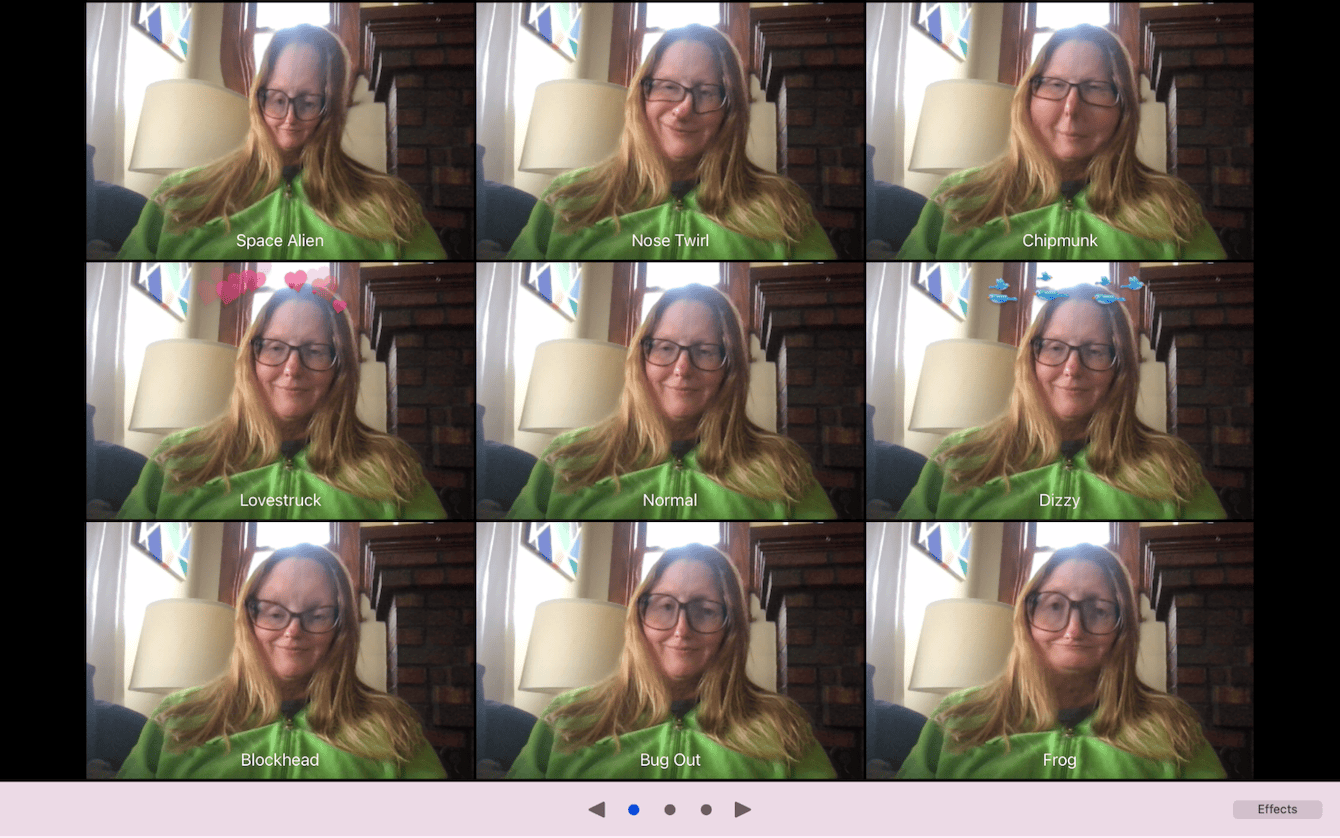
Finally, if you want to have some fun, click ‘Effects’ on the bottom right. You will see a series of special effects that you can click on in turn to take wildly distorted photos with different filters.
-
When you close the window or move to a different tab on your screen, the camera shuts itself off automatically.
How to save the pictures you take on your Mac
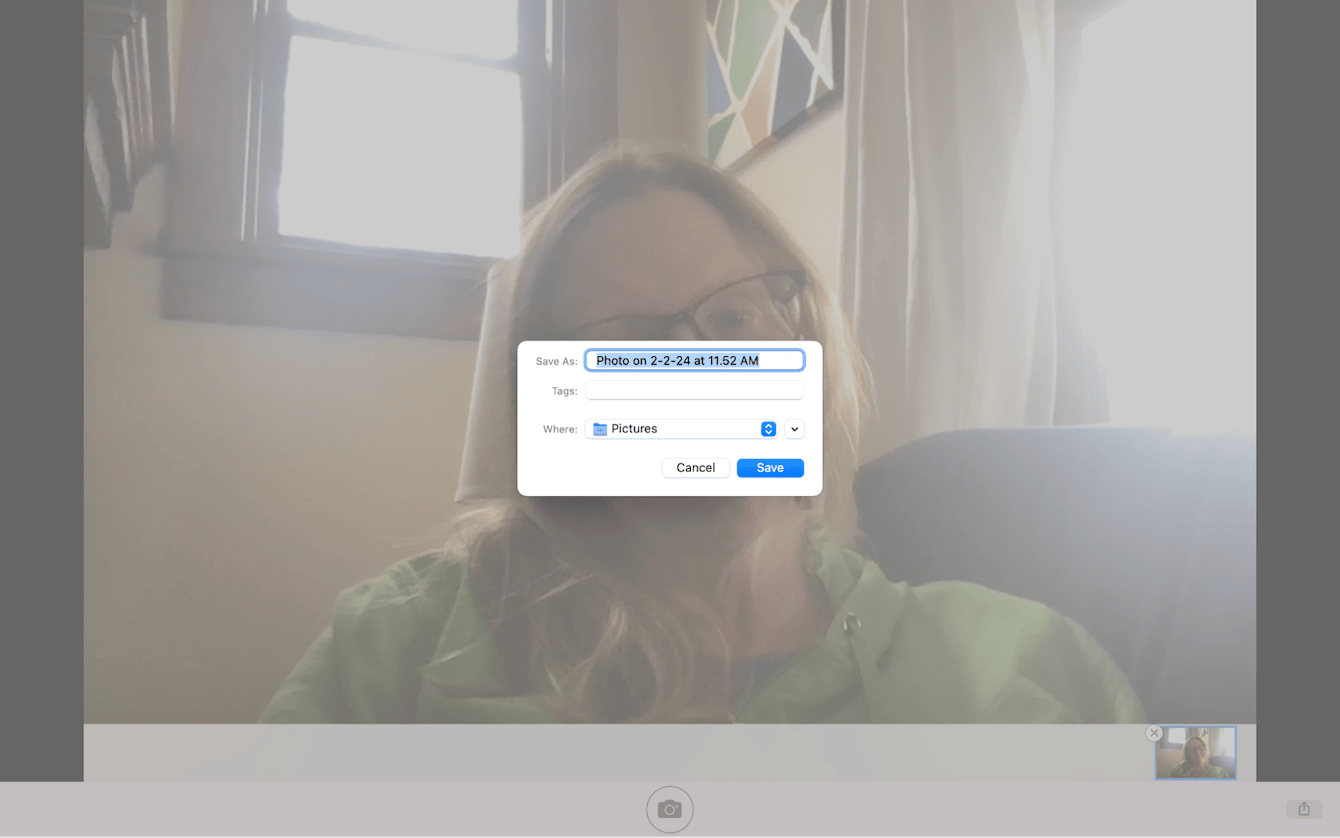
You can take as many photos as you need with Photo Booth, but be sure to save the ones you want to keep. Whenever you take a photo using Photo Booth, it will show up at the bottom of the screen. If you are happy with it, you will need to take a few extra steps to save it.
-
Right-click or double-click on the photo icon at the bottom of the screen.
-
Choose ‘Export’.
-
Give your photo a name in the pop-up window and choose where you want to save it.
-
Click ‘Save’.
How to take a picture of your Mac’s Screen
There are a few different ways to take a screenshot with your Mac using keyboard shortcuts. No matter what type of Mac you’re using, the method for taking a picture of your Mac’s screen is the same.
Here’s an overview of the different methods you can use to take a screenshot on your Mac. The default is for your screenshots to be saved onto your desktop.
Method 1: Take a screenshot of your entire screen. Use command + shift + 3 simultaneously to capture your whole screen.
Method 2: Take a screenshot of a specific portion of your screen. First, use command + shift + 4. Your cursor will turn into a crosshair, and you can drag it to encompass the part of the screen you want to capture. When you release your finger, your Mac snaps the screenshot.
After using the command + shift + 4 prompt, you can use a couple of other options to adjust your screenshot:
-
Press the spacebar. Your cursor will turn into a camera icon. Click on any open window, and your Mac will take a picture of it. This screenshot will be saved with a white border around the window.
-
Press and hold before you release your finger from dragging the cursor across your screen. This locks the orientation of your screenshot but allows you to drag it to reposition it.
-
Hold down the shift key before you release your finger from dragging the cursor across the screen. This feature locks the right and left sides of your selected area while allowing you to move the cursor up or down to reposition the bottom edge.
Alternatively, instead of memorizing all these shortcuts, you can open the built-in Screenshot app and choose the needed option from them.

How to quickly delete unwanted photos and screenshots from your Mac
Now that you know how to take photos, videos, and screenshots on your Mac, it’s time to learn how to quickly delete the ones you no longer need. Start by downloading CleanMyMac X, a complete solution for keeping your Mac running smoothly. Next, follow these instructions for using the Large & Old Files module:
-
Open CleanMyMac X on your computer (free download here).
-
From the sidebar, choose Large & Old Files.
-
Click Scan, and CleanMyMac will show you a list of all of your large or old files sorted by size. Right-click on the files to see them in Finder or quickly look at them to see what they are.
-
Once you’ve determined that you no longer need the file, click on it so that a checkmark appears next to it.
-
Finally, click ‘Remove’ to delete your unwanted files. You can choose different removal types.
-
For the best results, run the scan regularly so it doesn’t become an overwhelming task.

Accessing and using your camera to take photos with your Mac is easy with the Photo Booth app. Follow our instructions to easily snap photos, videos, and screenshots using your Mac’s webcam.