

Knowing how to record videos on Mac devices could always come in handy. Whether it's a video presentation for school, a tutorial for work, or a gameplay video for your social media channels, your MacBook or iMac could help you create content of the highest quality that can't but grab attention.
Of course, you just need the right tools for the job.
As luck would have it, Mac computer has excellent built-in solutions and plenty of fantastic third-party apps that allow you to create breathtaking videos with the utmost ease. Check out the top ways to record a video on a Mac like a pro.
Table of Content
Types of Videos You Can Record Video on a Mac
While you can't expect to record a movie on a MacBook or iMac of feature-length, you can capture different types of videos using nothing but your computer and a reliable app. The following are the main types of videos you could capture.
- Screen recordings: Capture your entire screen or a specific portion of it, showcasing tutorials, demonstrations, or presentations.
- Webcam videos: Record videos using the built-in FaceTime HD camera on your MacBook, ideal for vlogs, video calls, or personal messages.
- Voiceover videos: Create narrated videos by recording your voice alongside your screen recordings or slideshows.
- Video calls and conferences: Record your Zoom, Skype, or Google Meet sessions for future reference, training, or documentation purposes.
- Live streaming recordings: Capture live streaming events, webinars, or social media broadcasts to watch or share later.
- Software demonstrations: Record the usage of specific software or applications to illustrate their features and functionality.
- Video presentations: Create professional video presentations by combining screen recordings, webcam footage, and voiceovers.
- Gaming videos: Capture gameplay footage using screen recording tools or third-party game recording software.
- Online course materials: Create instructional videos for online learning platforms or personal coaching sessions.
- Creative projects: Record video clips for use in filmmaking, animation, or other multimedia projects.
The 6 Best Ways to Record Video on Mac
Without further ado, it's time to get into the specifics of how to record a video on a Mac. The following options are suitable for MacBook Air, MacBook Pro, and iMac, among others.
Way 1. Record Videos on Mac Using Wondershare DemoCreator
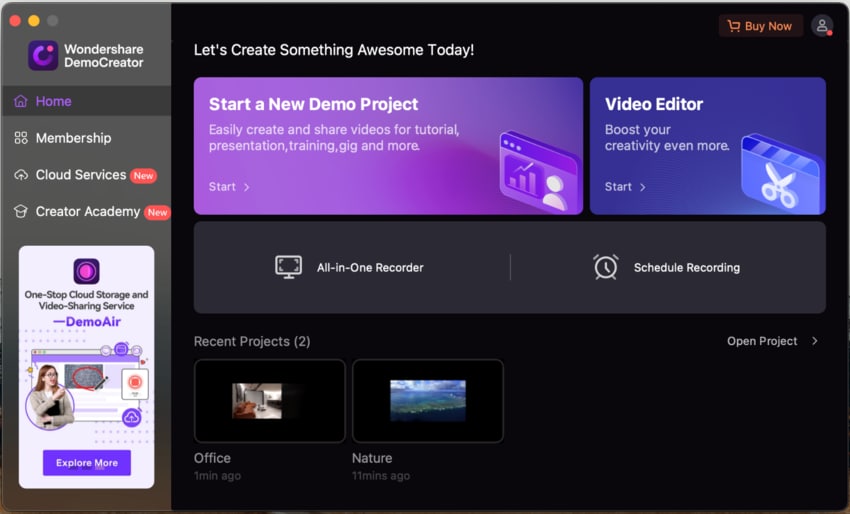
The best way to record a video on a Mac is with the help of Wondershare DemoCreator. This extensive Mac recorder and editor is jam-packed with useful features that can help you with every aspect of video production.
With its all-in-one recorder, you can seamlessly capture all types of videos mentioned above, from gameplay to Zoom meetings. Here are some of the standout features of DemoCreator:
- Various screen recording settings: Record screen, webcam, system audio, and microphone with separate tracks for post-production.
- Integrated game video recording: Integrating into the game allows for the highest quality recording, unaffected by the user's computer monitor resolution, and the game's movement, allowing 4K/8K game recording at 120 frames.
- AI avatar recording: DemoCreator is the only recorder on the market that offers virtual avatar recording with expression and motion capture. 30 avatars are available for you to choose from.
- Video presentation: Compatible with all popular video conference applications, such as Google Meet, Zoom, Microsoft Teams, and more.
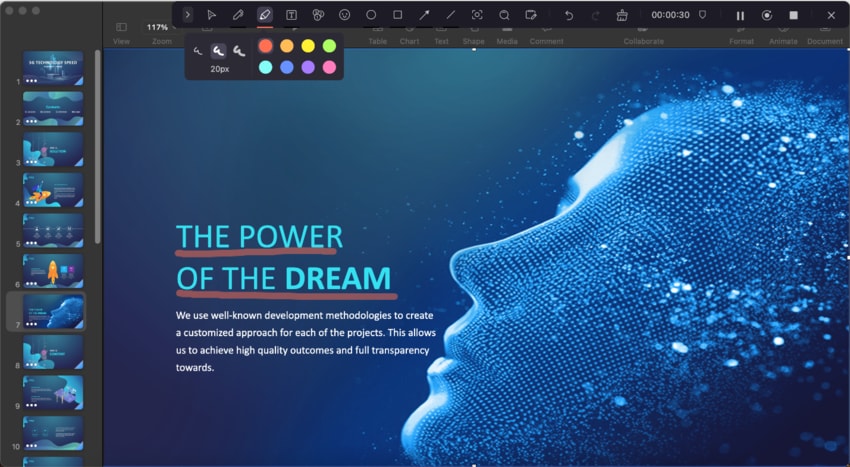
- Annotation tools: A variety of screen drawing tools, inlcuding Whiteboard, Highlight, Cursor Effects, Texts, and Arrows, help you emphasize important points while recording.
- AI Teleprompter: Enhance your presentation skills by relying on a teleprompter, which guarantees a polished and composed speech.
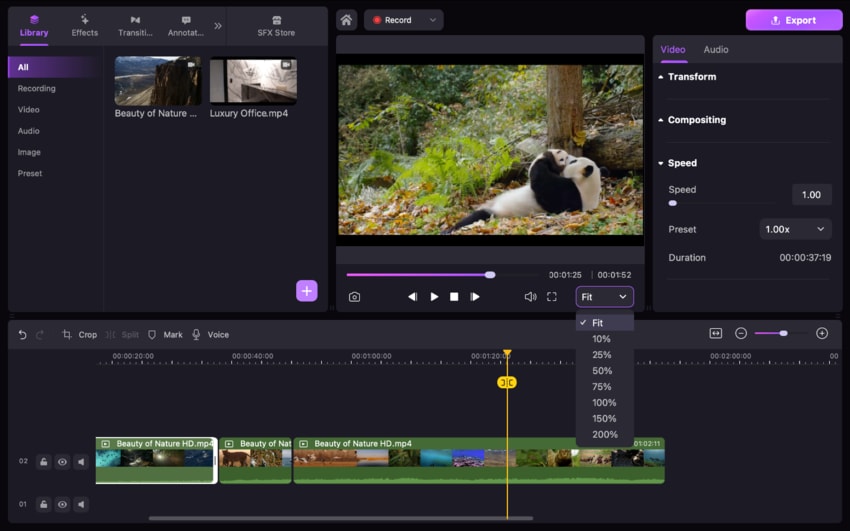
While its recorder is undoubtedly impressive, what makes Wondershare DemoCreator truly stand out is its built-in editor. As soon as you've captured what you need, you can continue editing your video and audio without leaving the app.
Add subtitles, or effects like zoom in/out, cursor effects, transitions, and automatic annotations. You'll have access to over 10 AI tools and 50K creative assets, so you can play around as much as you want.
Here's how to record a video on Mac using Wondershare DemoCreator:
- Download and install DemoCreator on your Mac;
- From the main menu, select the New Recording (or other recording mode according to your needs).

- Customize your recording settings (capture area, microphone, webcam, etc.);

- Choose Export Express or Edit Recordings scheme;
- Click the red REC button to start recording;
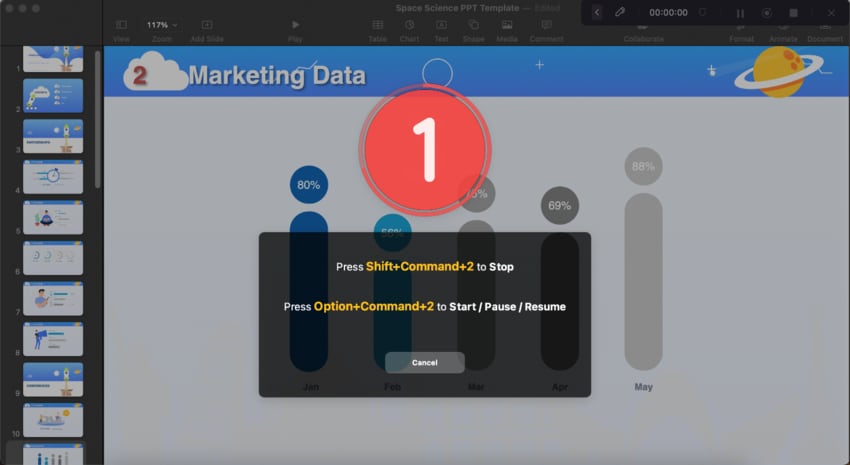
- During the recording, you can use the annotation tools to highlight your content.
- Press the Option+Command+2 or the Stop button to end the recording and export it. If you've chosen the Edit Recordings scheme in Step 4, you can continue editing it as soon as you're done capturing your video.
Way 2. Record a Video on Mac Using Mac's Built-in Recorder
If you don't need your videos to look highly professional and only want to take a quick screen capture, you could simply use Mac's built-in screen recorder. It's a simple screenshotting tool that doesn't have many bells and whistles. You can use it to take screenshots on Mac, and if you have Mojave or a newer OS, you can use it to record short videos and audio.
Here's how to record video using Mac's built-in recorder:
- Press Shift + Command + 5 to open the screenshot toolbar;

- Go to Options, select your preferred Audio/Microphone, and Save to preferences;
- Select the recording area;

- Click Record to start recording and click the Stop button to stop recording.
Unfortunately, you can only record your Mac screen using this tool. You can't record using an external camera, nor can you take videos unless you have Mojave or a newer OS.
Way 3. Record a Video on Mac Using the QuickTime Player
An alternative to using the built-in screen capture tool on Mac is using the QuickTime player. While it's most commonly used for playing media, you can also rely on QuickTime for making screen recordings. It comes pre-installed with your OS, so you don't have to download or pay for it, which is a big plus.
QuickTime is easy to use and comes with some basic editing functionalities, making it a fine choice if you need to create shorter presentations or quick explainer videos. The limitation is that you cannot record system audio with QuickTime unless you install a third-party plugin like Soundflower.
Here's how to do a video recording on Mac using QuickTime:
- Go to the Applications folder and open QuickTime;
- In the menu bar, go to File > New Screen Recording;

- Click the arrow next to the Record button to add/remove the microphone and cursor clicks;
- Click the Record button to start recording;

- To record the full screen, just click anywhere on the screen;
- To record a specific area, drag to select the area;
- Click the Stop button or press the Command + Control + Esc keys to stop recording.
QuickTime will automatically open your recording once you're finished. You can edit and save it in just a few clicks.
Way 4. Record a Video on Mac Using Photo Booth
Mac gives you another built-in recording option if you're interested in recording yourself - the Photo Booth. Now, it isn't a screen recorder, and you cannot use it to capture presentations, gameplay, and the like. You can only use it for webcam recording, which could be an excellent choice for video interviews, for instance.
In addition to enabling you to record yourself on Mac, Photo Booth offers a nice set of features, including nice photo and video effects, seamless sharing, and more.
Here's how to take a video on MacBook with Photo Booth:
- Open Photo Booth;
- Click on the Film icon to capture a video instead of a photo;

- Click the red Record button to start recording;
- Click the red Stop button to stop recording.
Unfortunately, there isn't much customization you can do regarding the recording range and format, for instance. However, you can always use your editing tool of choice to perfect your video once you've recorded it.
Way 5. Record a Video on Mac Using Videoproc Converter
If the built-in tools aren't enough for you, you might want to try Videoproc Converter. It's an AI-powered solution for recording, enhancing, and converting your videos to almost any format you choose.
Commonly used for live streaming, it allows you to record your screen and webcam and capture system audio and microphone. It even has some basic editing functionality that enables you to improve the overall quality of your recordings.
Here's how to record video on MacBook using Videoproc Converter:
- Download and launch Videoproc Converter;
- Select Recorder > Browse and choose your output folder;

- Select what you want to record;
- Define your recording range;
- Click the red REC button to start recording;

- Press the red button in the upper right-hand corner and select Stop Recording to stop recording.
Since the Videoproc converter supports multiple video file formats, you can easily upload your content to any platform.
Way 6. Record a Video on Mac Using Online Recorder - DemoAir
If you're looking for a budget-friendly, cloud-based solution for recording videos on your Mac, Wondershare offers an excellent option - DemoAir. Free to use, this tool is a simple Chrome extension that comes with some powerful capabilities.
You can record your browser activity, desktop, webcam, microphone, and system audio. It boasts built-in screen drawing tools, seamless ways to add annotations, create AI video presentations, and more.
Here's how to take video on Mac using Wondershare DemoAir:
- Access the DemoAir website and click Add to Chrome;
- Click the DemoAir Chrome extension icon and select Browser Tab or Desktop option;

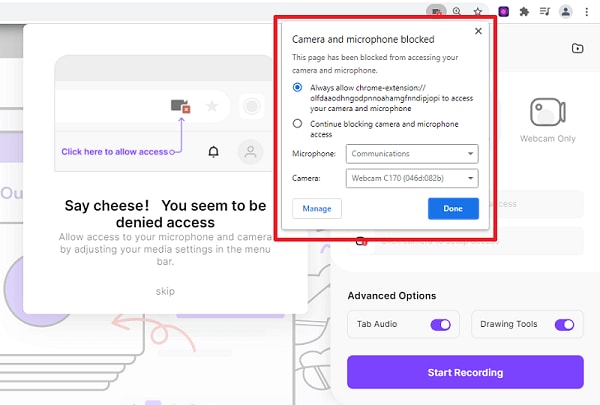
- Customize recording settings and allow access to microphone and webcam if needed;
- Click Start Recording;
- Specify what you want to record and click Share to start recording;
- Click the Pause button to pause your recording or the Recording button to stop your recording.

From there, you can easily save and share your video to any platform you choose.
What Is the Best Way to Record Videos on Mac?
The best way to record videos on a Mac depends entirely on your needs. Here's a brief overview of the solutions mentioned so far.
| Mac record video | Best for |
| Wondershare DemoCreator | Best overall |
| Mac Recorder | Best for short video clips on Mojave or newer OS |
| QuickTime | Best for quick explainer videos |
| Photo Booth | Best for webcam videos |
| Videoproc Converter | Best for easy sharing |
| DemoAir | Best for browser recording |
Tips for Recording Videos on Mac
To improve the overall quality of your videos regardless of the screen recording solution you go for, you'll want to follow the next few tips:
- Pre-plan your videos - it's always a good idea to have a specific plan (or even better - a detailed script!) before you start recording;
- Familiarize yourself with the tool beforehand - regardless of the tool you choose, try making a shorter casual video beforehand. That way, you'll familiarize yourself with its features, and your video will be easier to make;
- Use good lighting for webcam videos - if you're recording your webcam, ensure that you have proper lighting and that nothing is obscuring your face;
- Close unnecessary windows - ensure all the apps, tabs, and windows you won't need are closed. You'll minimize distractions and mistakes, but more importantly, you'll minimize the impact on your computer resources and reduce lag;
- Edit your videos - always edit videos once you finish recording them, cutting out any filler words, slower segments, thinking pauses, and the like.
With these tips in mind and one of the aforementioned tools on hand, you'll have everything you need for perfect video recordings on a Mac.
Conclusion
Mac gives you access to some fantastic tools for capturing your screen, webcam, and browser tabs. Whether you use built-in tools like QuickTime or comprehensive solutions like Wondershare DemoCreator, recording your videos should be a breeze.
- Record desktop screen, audio, and webcam simultaneously
- Various annotation tools to emphasize important points
- Edit videos quickly with a wide range of professional tools
- Export to MP4, MOV, MKV, GIF and multiple formats

