
Light painting, or painting with light might seem like rocket science but it really isn’t. Just about anybody can paint with light following the easy steps given below.
Falling somewhere between fine art photography and long exposure photography the art form has boomed in the last couple of years with over a million hits on the #lightpainting hashtag on Instagram as of today.
Also known as light drawing, the art form goes back to the year 1889. Ever since scientist and physiologist Étienne-Jules Marey and inventor Georges Demeny laid down human emotion in the first ever light painting, some real maestros have come forward and used the technique to express themselves. Some photographers have dedicated their entire lives to this art-form.
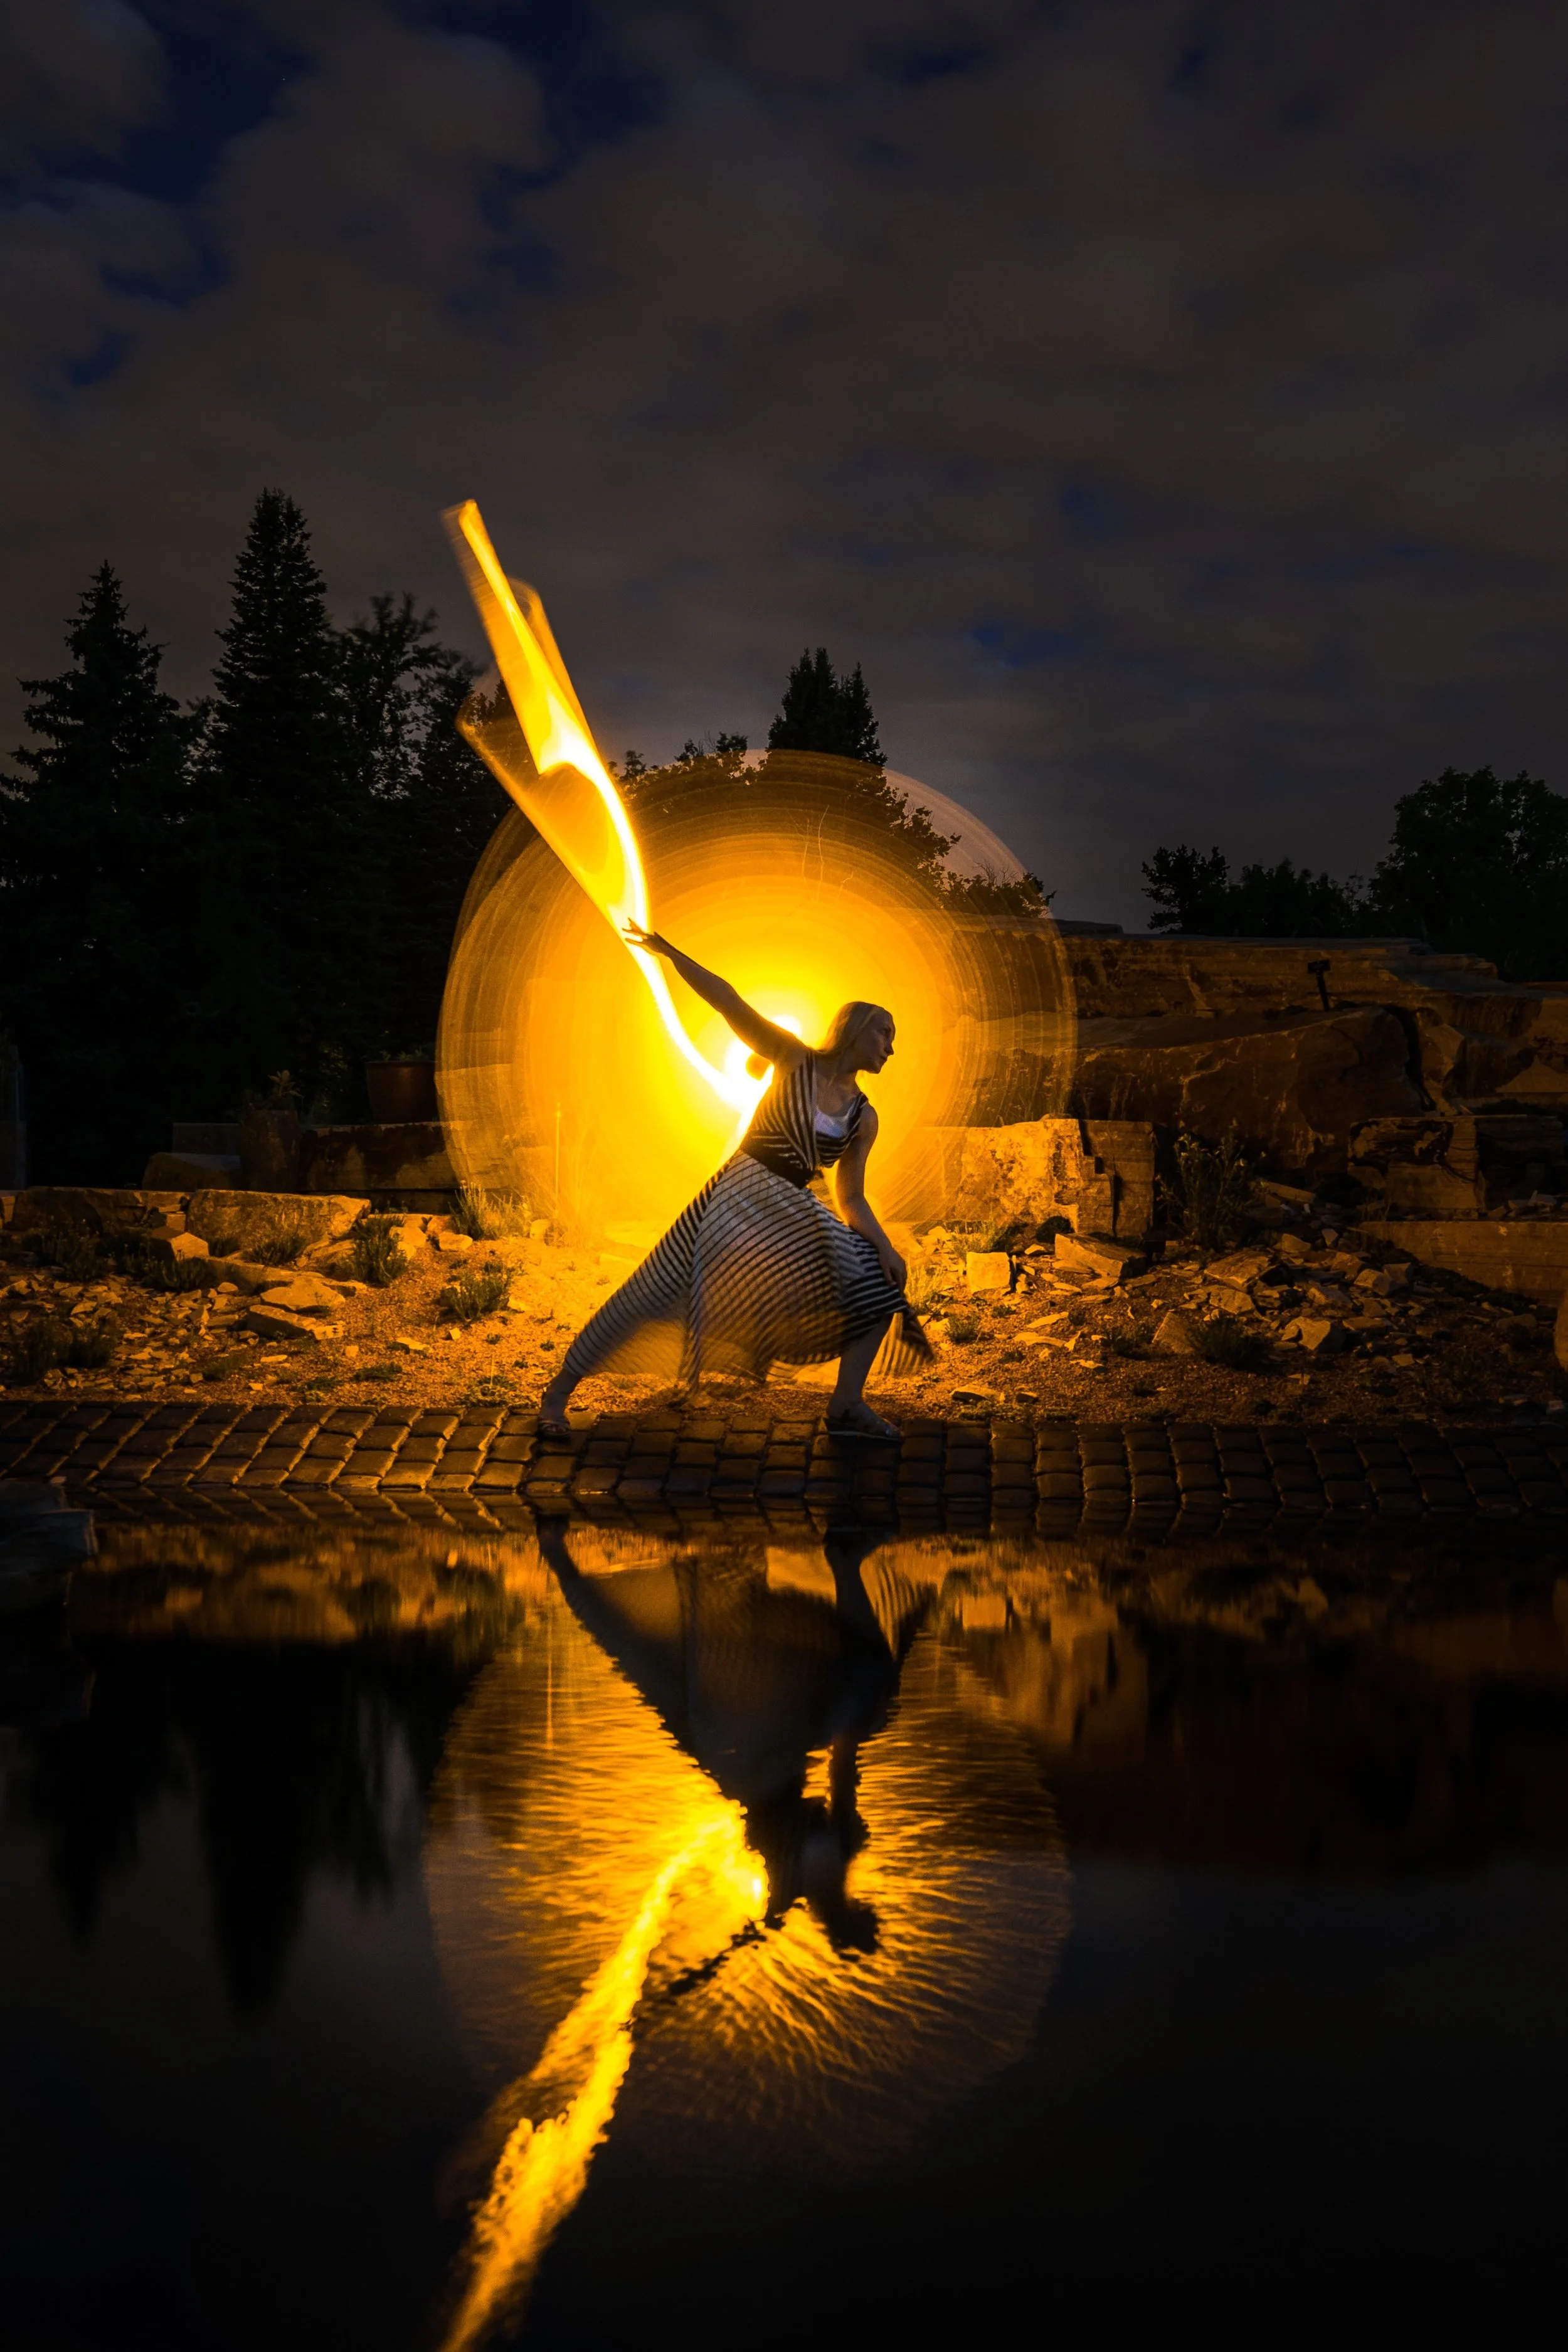
Photo by Xuan Nguyen on Unsplash
The simple idea that light could be manipulated and painted with much like a paintbrush and the sensor being the canvas has captured the imagination of many down the years.
Contemporaries like Eric Pare are leading the way with their fine art portraits today.
We sought to use the same technique for our portraits and the result leaves you truly wanting for more.
While it is an interesting way of doing portraits, it can be time consuming. Those who care enough to put in the effort will not leave disheartened.

Things You Will Need
Camera
Tripod
Off Camera Flash (optional)
Tracing Paper
Gaffer’s Tape
Acrylic Tube (they’re plastic tubes really, you can find them at a departmental store)
Small Torch
Bar Light
STEP NO 1
Find a good location
Painting with light is a kind of long exposure photography except you don’t need all of the lights. You have to be in a location that’s free of light pollution, where you can control the light. You can either do this in a studio where the light is under your complete control or you can go to a nice exterior location that’s free of extraneous light sources. This means no street lamps, no lights from oncoming vehicles, homes etc. A countryside location that’s away from the humbug of the city, where you can see the night sky perhaps?
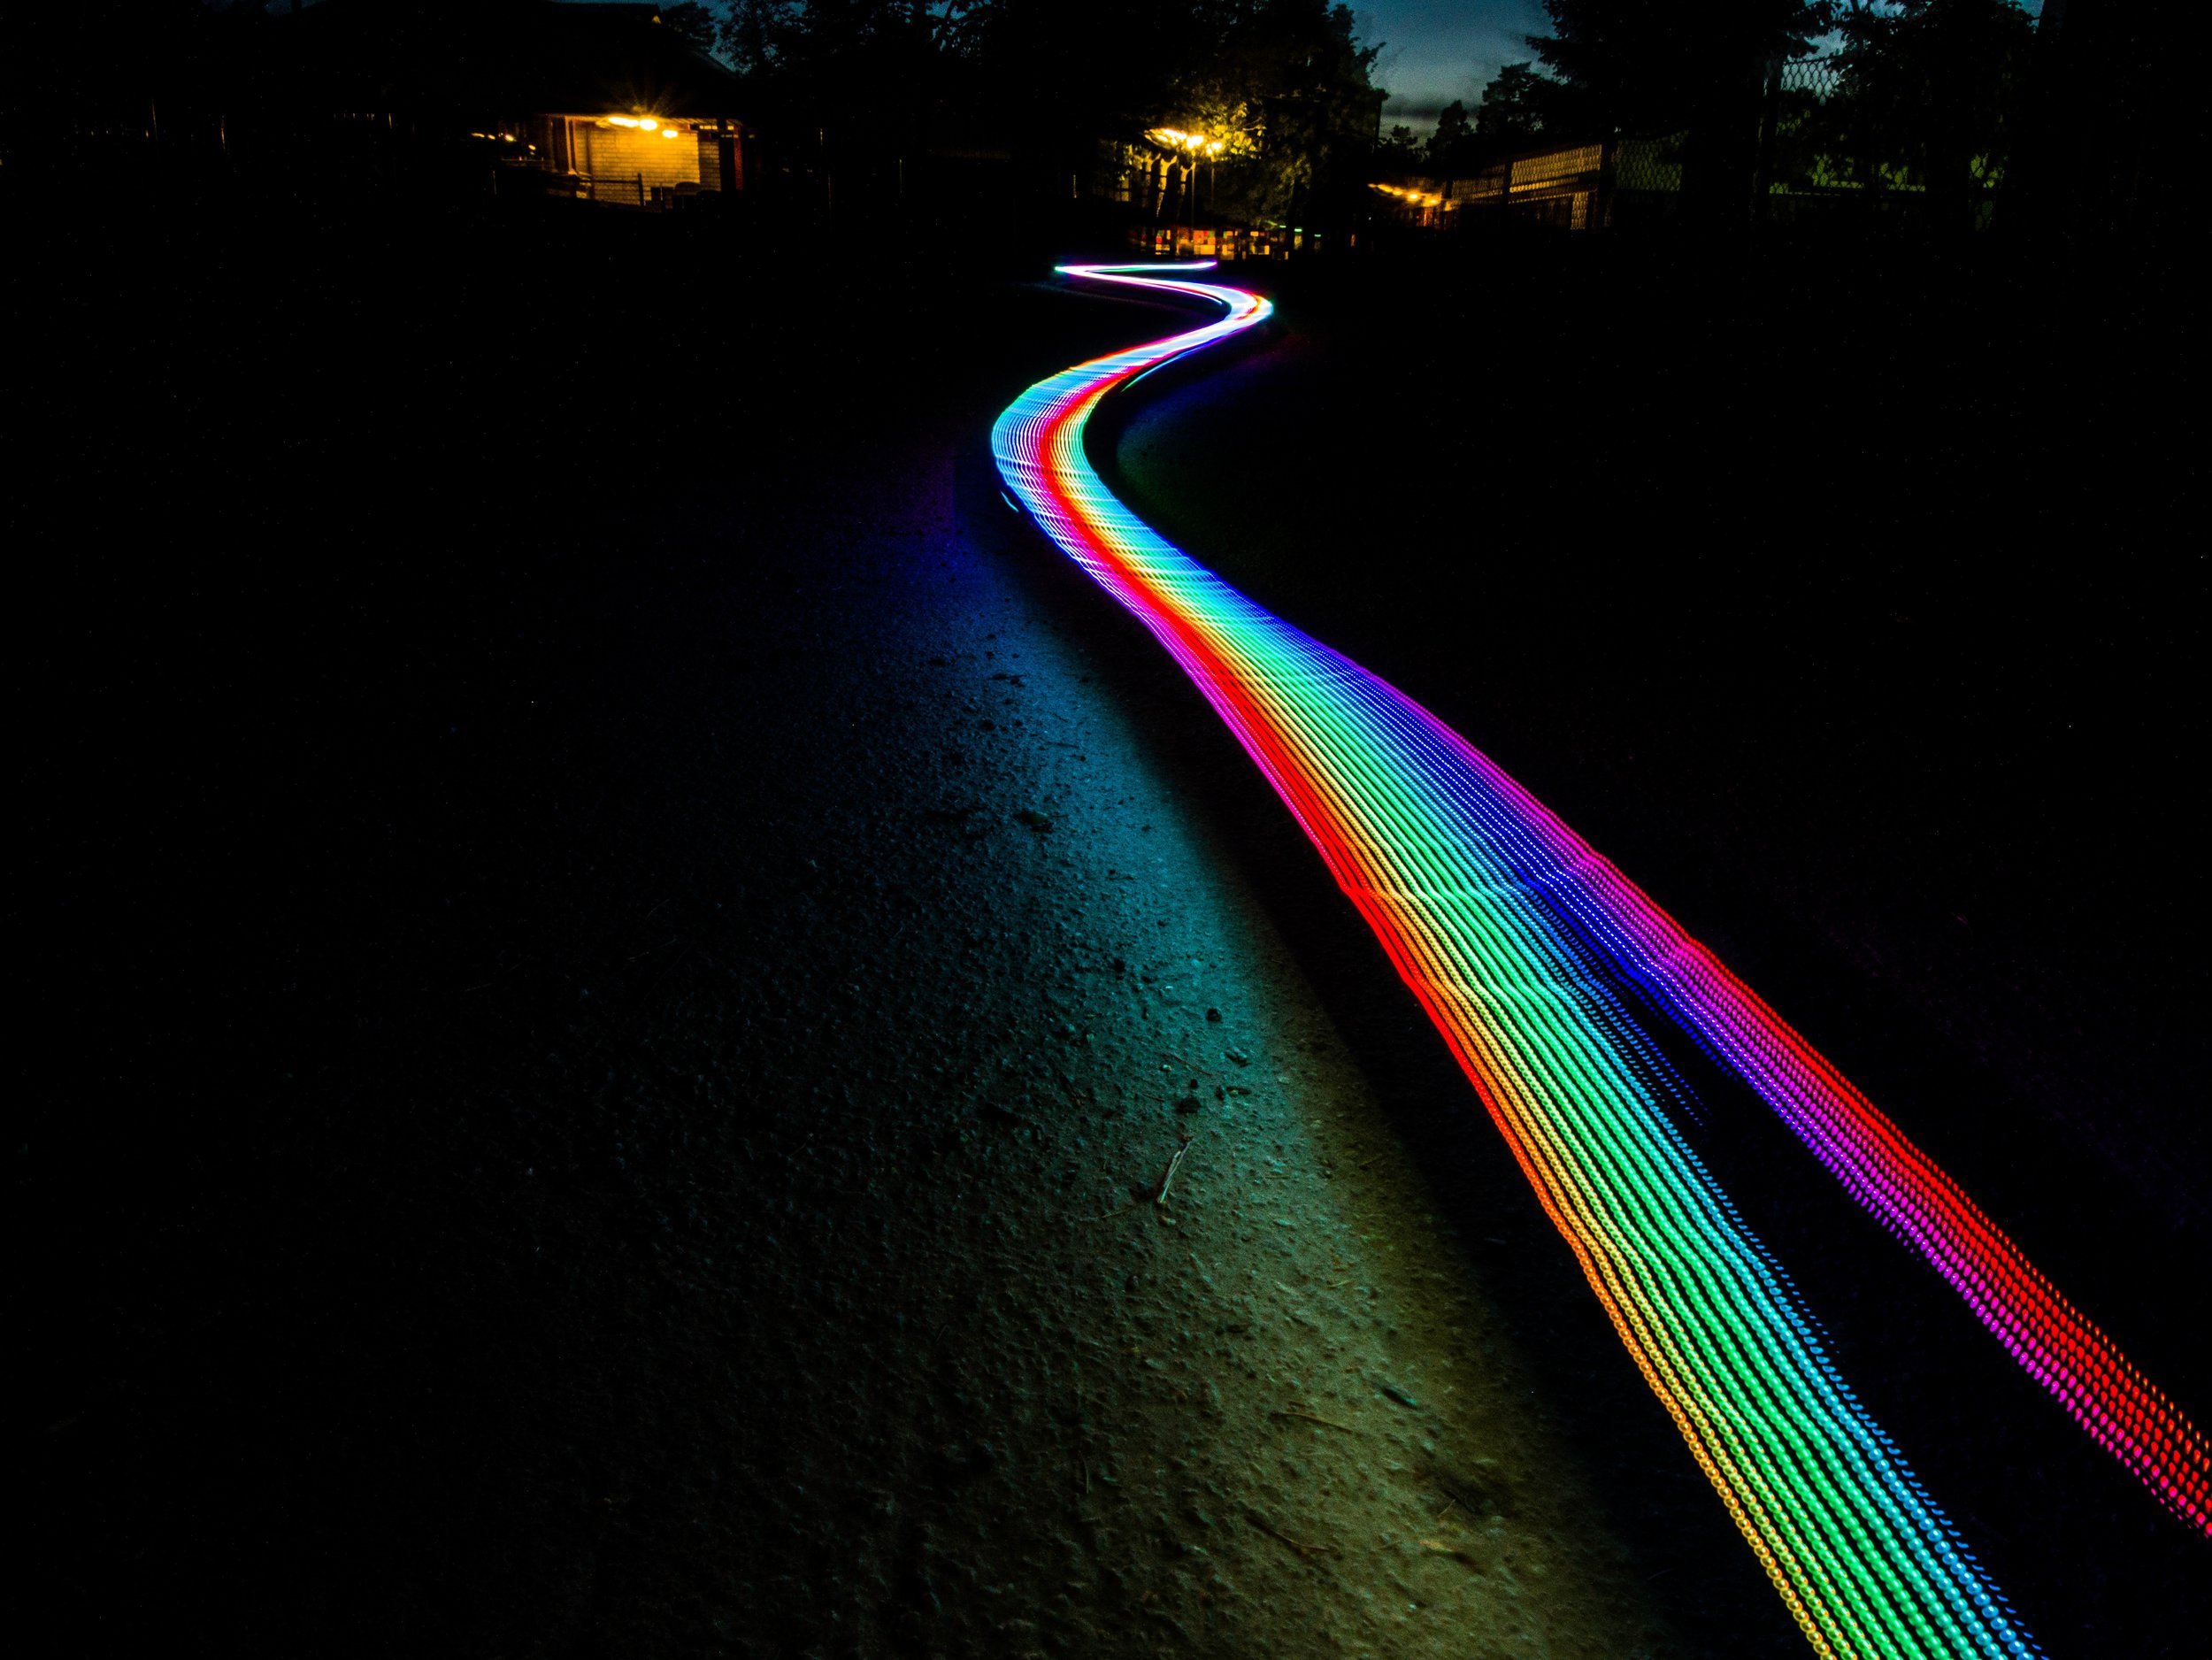
Photo by Tobias Carlsson on Unsplash
STEP NO 2
Find a good subject
This often gets overlooked. Are you looking to paint on a human subject or are you just looking to draw a shape or write something? Knowing this is very important. Plan beforehand about the kind of shot you’re looking to get and look up some references online.
When shooting with a human subject, you need someone who understands how to strike and hold a pose. Since the shutter on your camera will be open at least 20 seconds, you’ll need someone who can hold a pose while you’re painting around them and look good through it all.
Photo by Akshar Dave on Unsplash
STEP NO 3
Tripods are our friends
Once you’ve found your model/subject, the next thing you do is mount your camera on a tripod. We want the photo to be as sharp as possible so we’ll be avoiding any kind of camera shake. If it helps, use a shutter release cable for this purpose. If you don’t have one, download your camera app and see if it allows you to record or press the shutter using the app. You can also use the interval timer mode on your camera and set it to twenty seconds or more depending on your exposure.
STEP NO 4
Decide your light/Equipment
When it’s dark out - how are you going to expose your subject? What else will you be exposing while the shutter remains open? Maybe you want a little bit of the background to be exposed as well. Settle on all of this and then figure out how you’re going to light all these elements.
This is a pretty elaborate setup. In this case, the girl is lit from the front while a steel wool burns in the background. There’s also reflection coming into play, adding another dimension or a kind of exposure to the image. Photo by Xuan Nguyen on Unsplash
Light painting brushes are available online for as cheap as $5 online. In the case of which lights to get, purchase lights that are can be directed or angled towards something and don’t spill much. You could experiment using any number of lights. We used a bar light from Yongnuo to expose our subject - you can purchase it here. We also used a plastic tube with tracing paper (to soften the light a little) and attached to it the small torch from earlier to create a nice light tube.

STEP NO 5
Camera Settings

For reference purposes only. Camera settings vary depending on where you are.
Set the mode on your camera to “BULB”. On bulb mode you can draw the shutter curtain up and down on command. If you’re using an older camera which doesn’t have an app that allows you to control your camera, you could set the shutter speed to 30 seconds or more or use an interval timer and time your shot. This should give you time to paint around your subject. Your aperture has to be f/8 or more if you want the image to come sharp and if you want everything in focus. The ISO should be set depending on how sensitive you want the sensor to be. Keep in mind that the higher you bump up the ISO the more noise there will be.
STEP NO 6
Go Time
Once your frame is set, you’ve talked it over with your model and all, you’ve decided what you’ll be exposing throughout the course of the exposure - the only thing left to do is - do it.
Press the shutter
Expose the subject/frame by turning the light(s) on and then off.
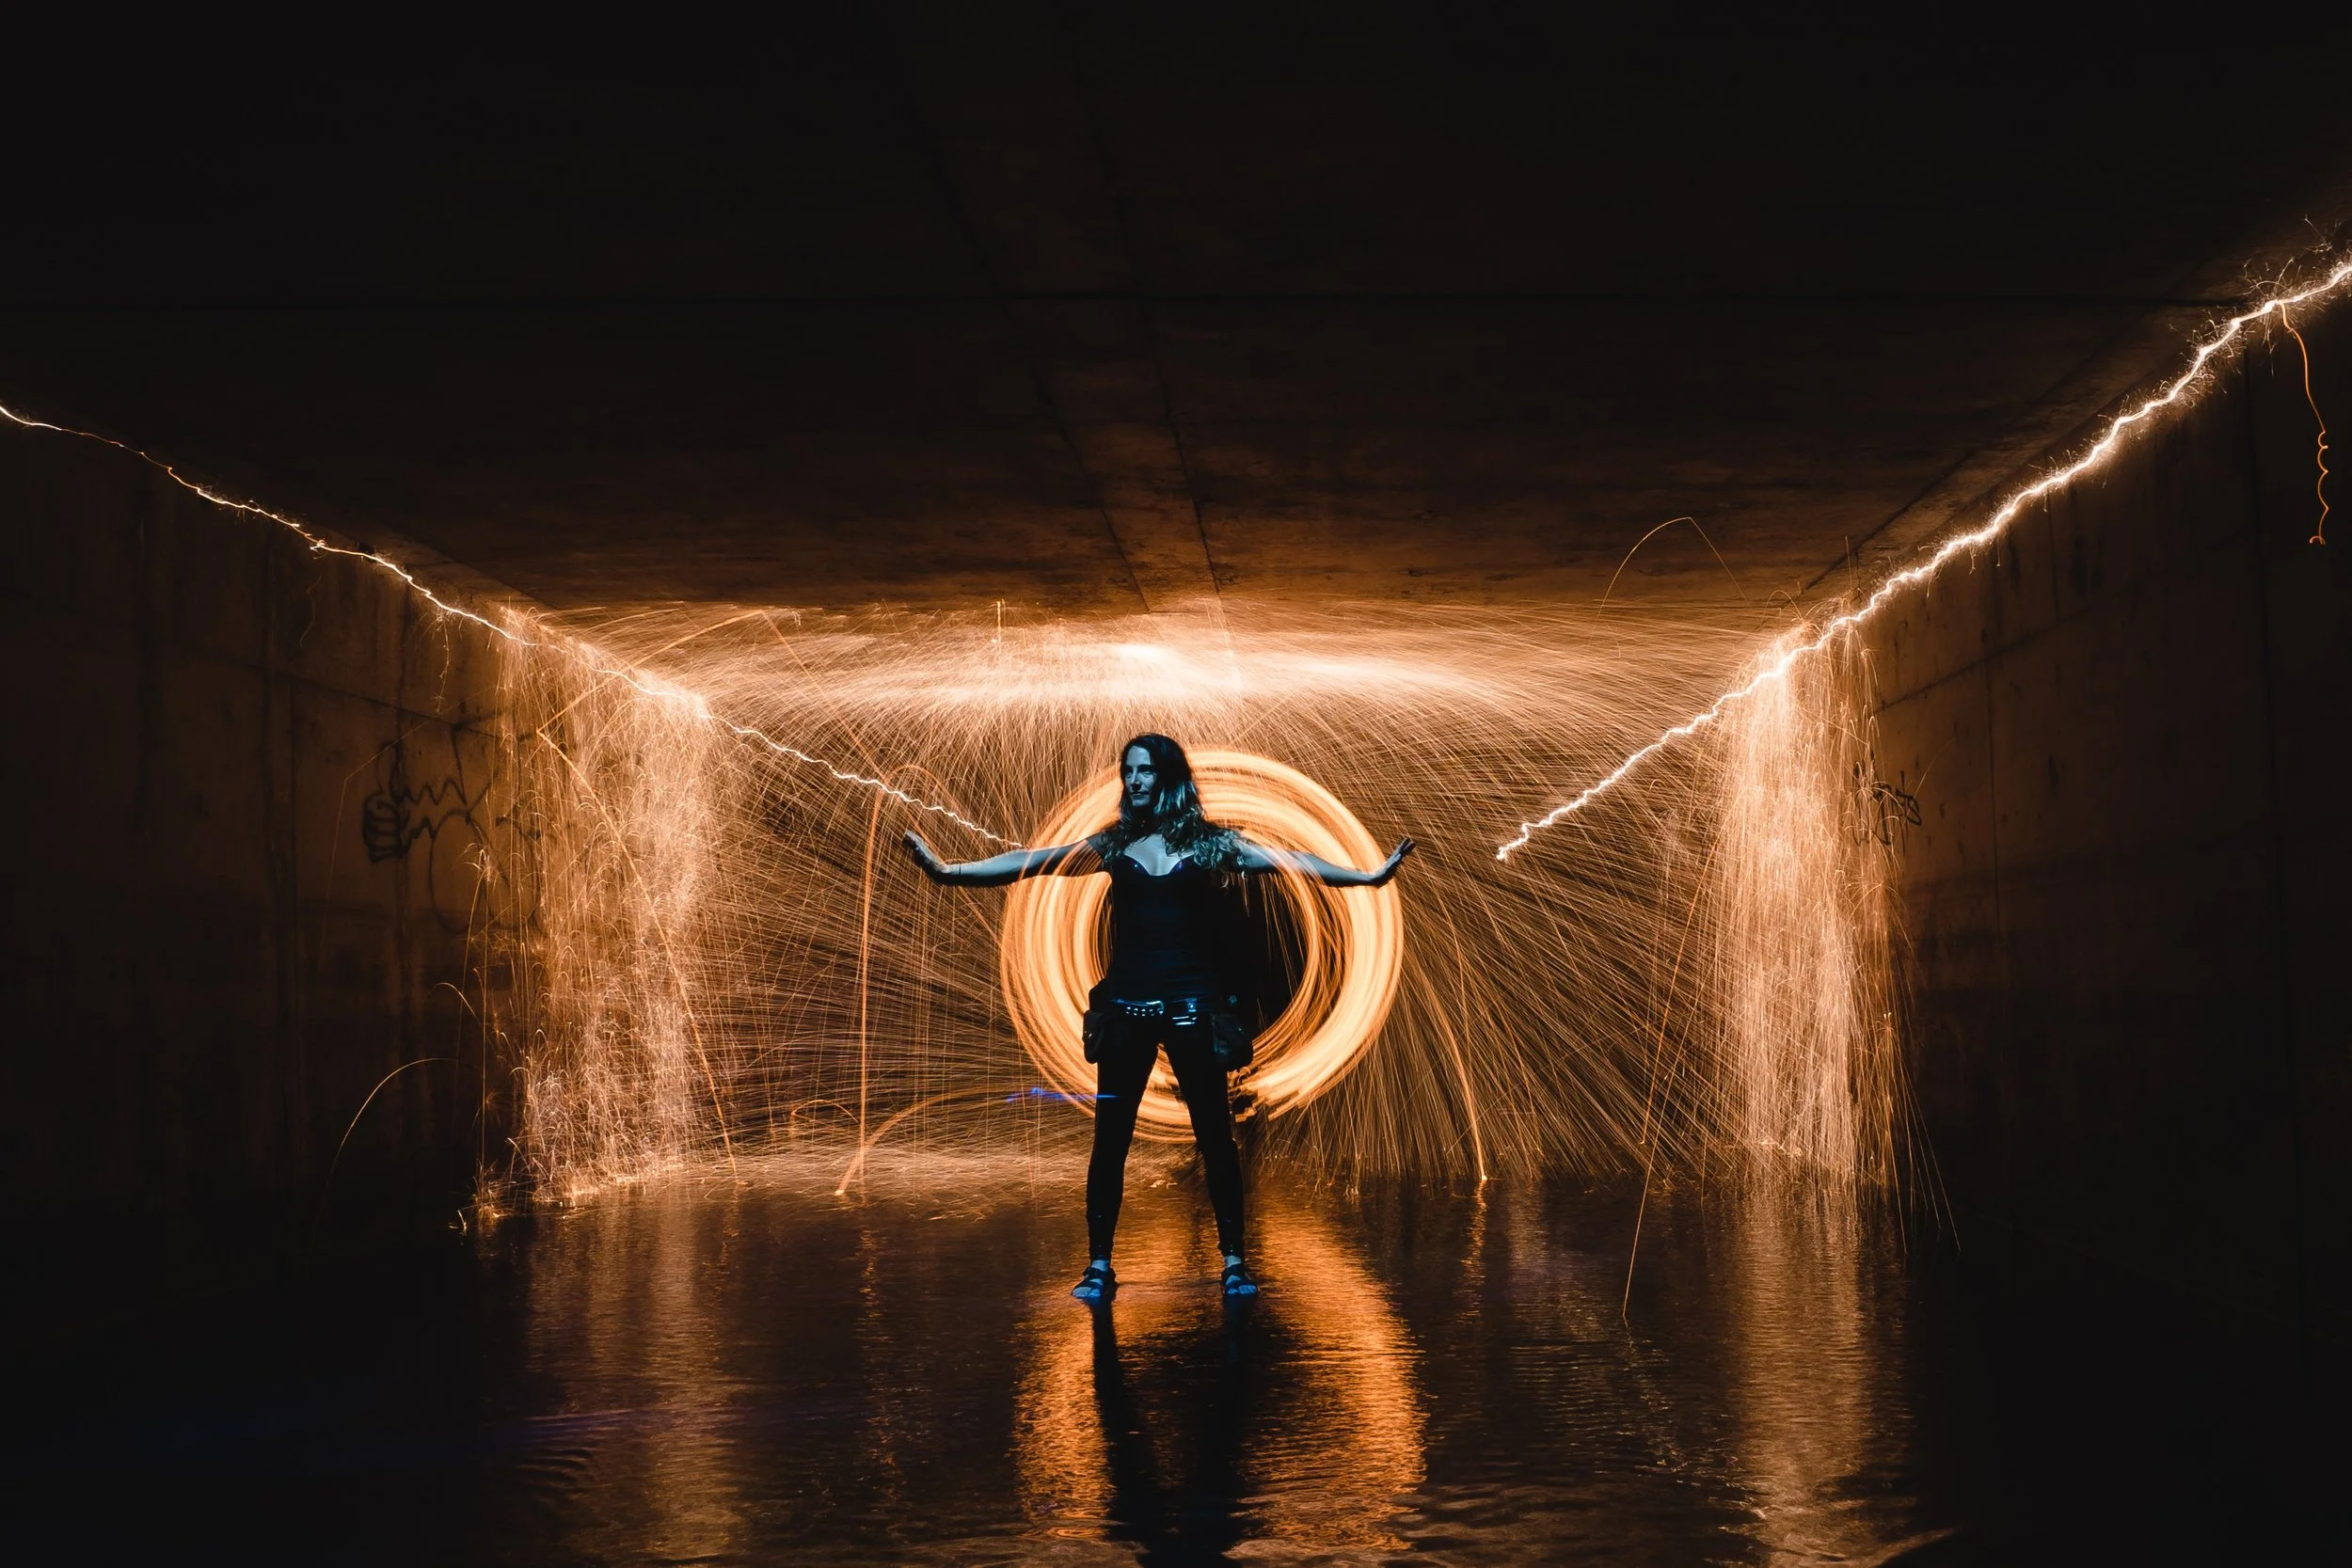
Turn on your lightbrush/tube and paint around your subject making some cool patterns, a halo perhaps. You can go crazy with the patterns before the the shutter snaps. Make sure you’re not in the frame.
The result will be a fabulous/weird/experimental light painting. The more one practices, the better one gets at it.

That should be it for those who like to read.
But for those who want a more visual tutorial on how to create a light painting, click on the video embedded below. Photographer Omkar Kocharekar has created some fabulous light paintings with a little help from us at GMax Studios. That video should clear any doubts on what to do or what not to do. Live a little, click on.